RouteArrows Removal Instructions PDF
Like the Label on Every Roll of RouteArrows Says, “Please Remove RouteArrows from Trails, Paths and Pedestrian Areas After Your Event, Thank You!”
Removing RouteArrows in those areas is seen as being considerate of the local community, which will have a positive impact. Use these easy removal methods to simplify and speed up the process, and have your event welcomed back!
- INTACT RouteArrows: are undamaged, only exposed to little, if any, traffic.
- WORN RouteArrows: are well pressed into pavement, damaged by traffic, etc.
Pro Tip: Do This While Route Marking / Removing RouteArrows Right After Event!*
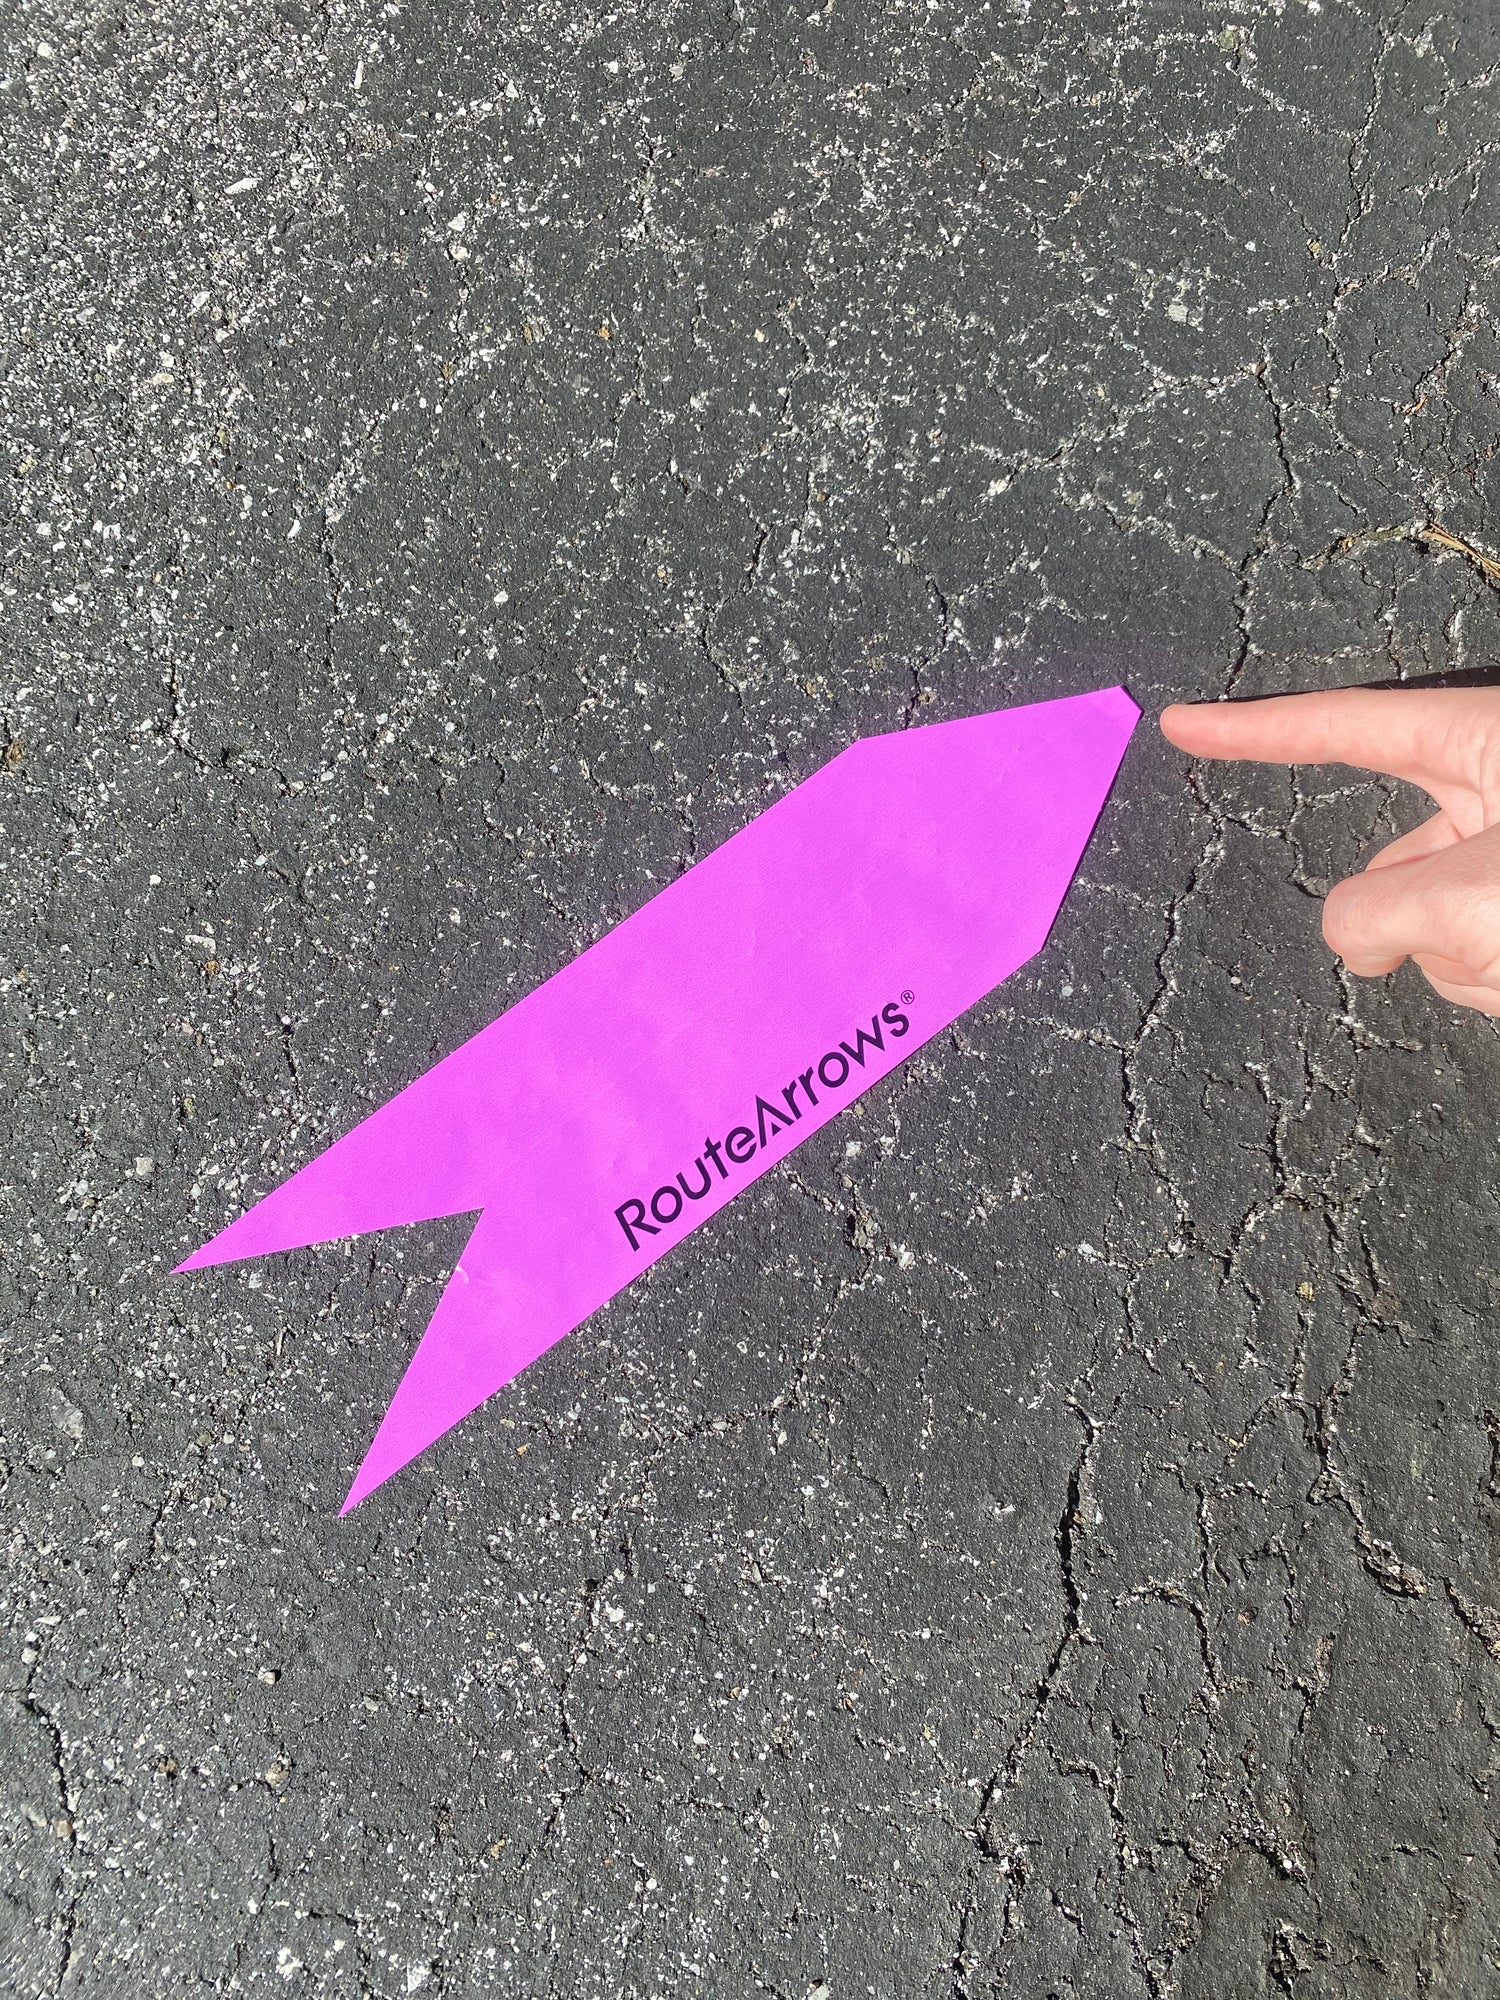
- Fold under ¼ inch of the RouteArrow tip creating a “Tab to Grab” to make it easier to peel them off the pavement after your event.
- *Do this when removing INTACT RouteArrows immediately after your event. This method won’t work well with WORN / OLD (2+ days) RouteArrows.
RouteArrows Removal Methods: The Removal Team should prepare for removing both INTACT and WORN RouteArrows.
Method 1: Best when removing INTACT RouteArrows immediately after your event, and when you only have a FEW (<15?) RouteArrows to remove.
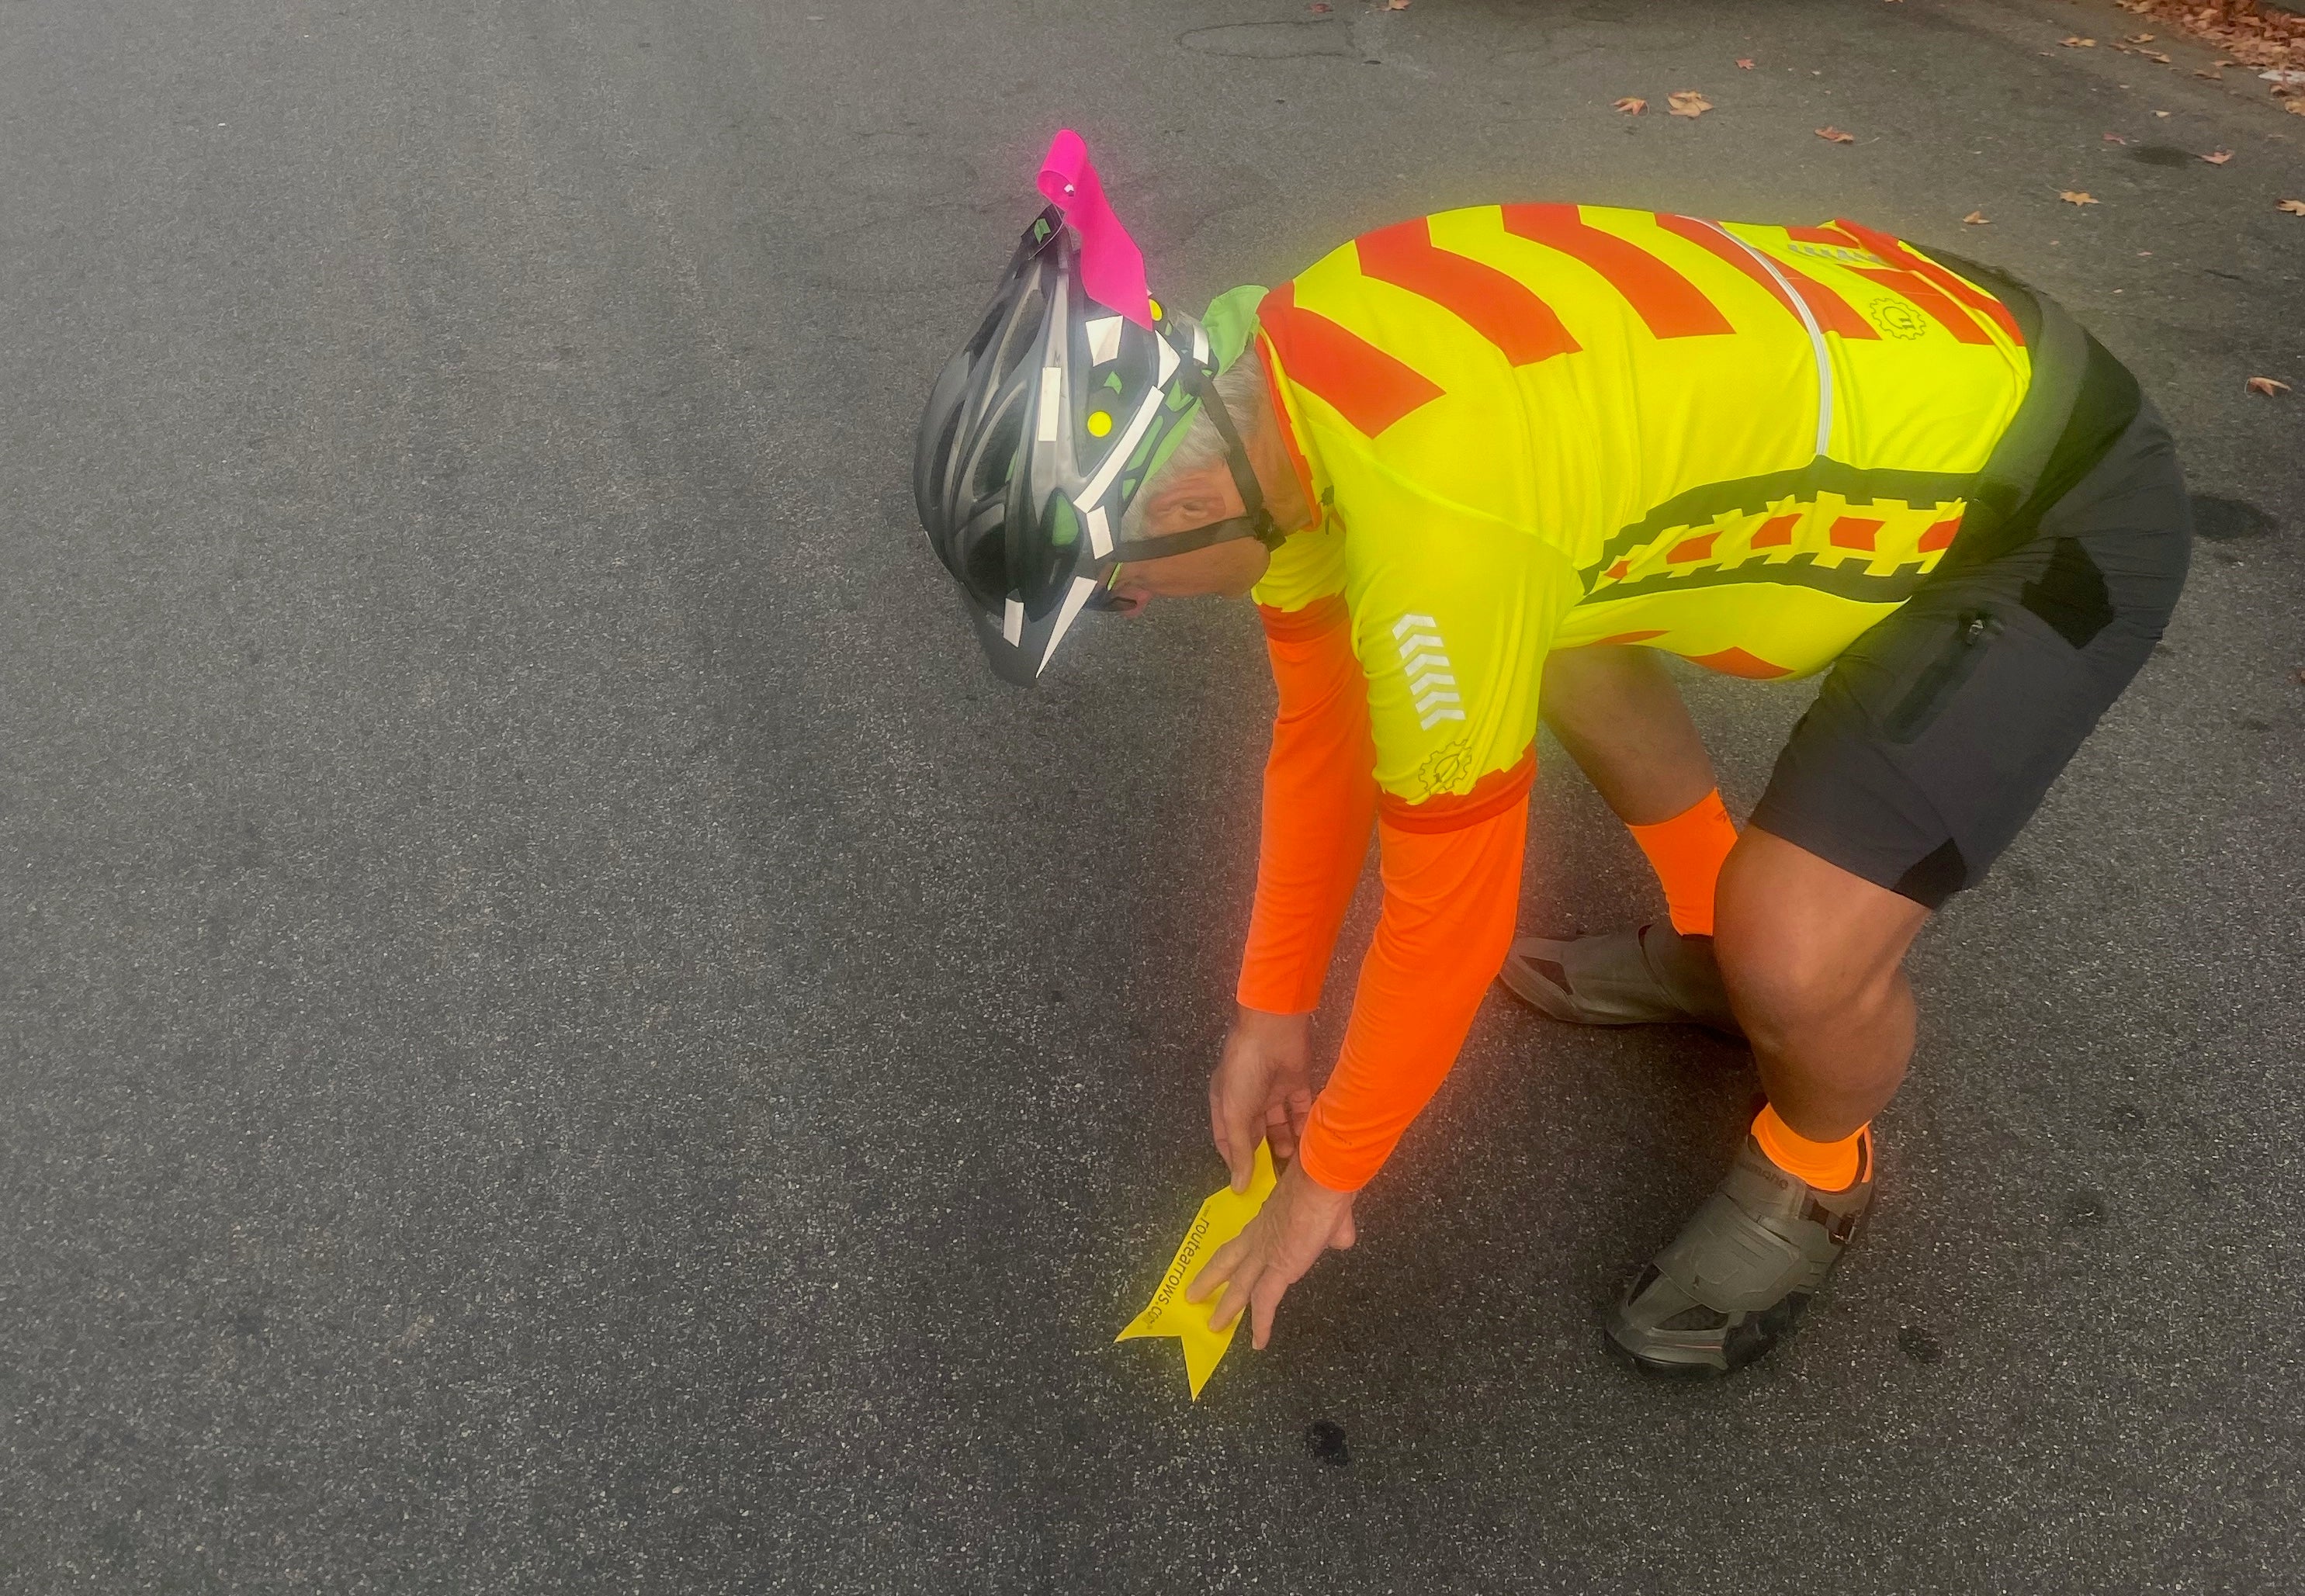
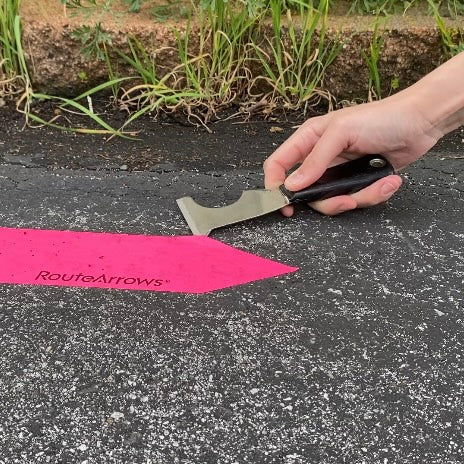
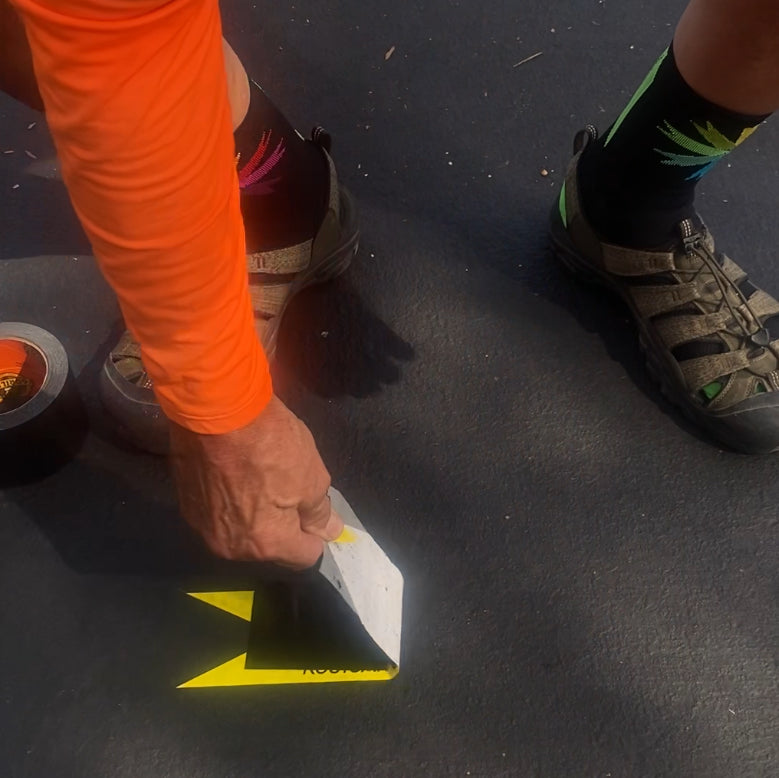
- Use fingers and/or a metal tool to peel/lift them off, from tip to tail.
- Easier when RouteArrows have “Tab to Grab”! (See Pro Tip Above)
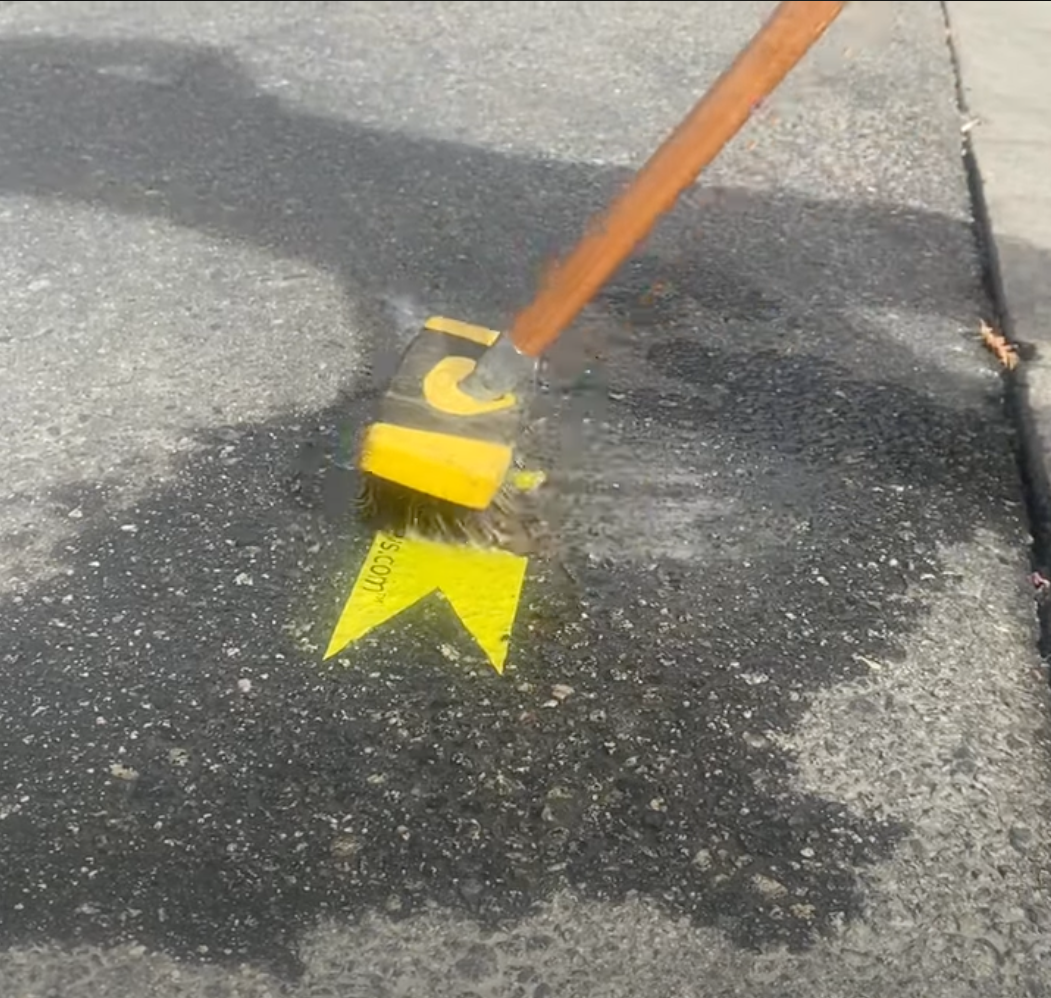
Method 2: Best when removing MANY (15+) RouteArrows - especially WORN, OLD (2+ days), well-stuck, damaged RouteArrows. (See our YouTube video)
- Use water and a wire brush to easily dissolve and destroy them. Get the arrow wet, then brush it into mush, and rinse away residue.
Bring refillable 1-5 gal jugs (Est. 25+ Arrows/gal) & squeezable bike water bottles are great for wetting the arrows!
Method 3: Best when you only need to remove a FEW (<15?) RouteArrows
- Use 3in wide Gorilla brand tape / strong adhesive tape to lift arrows off.